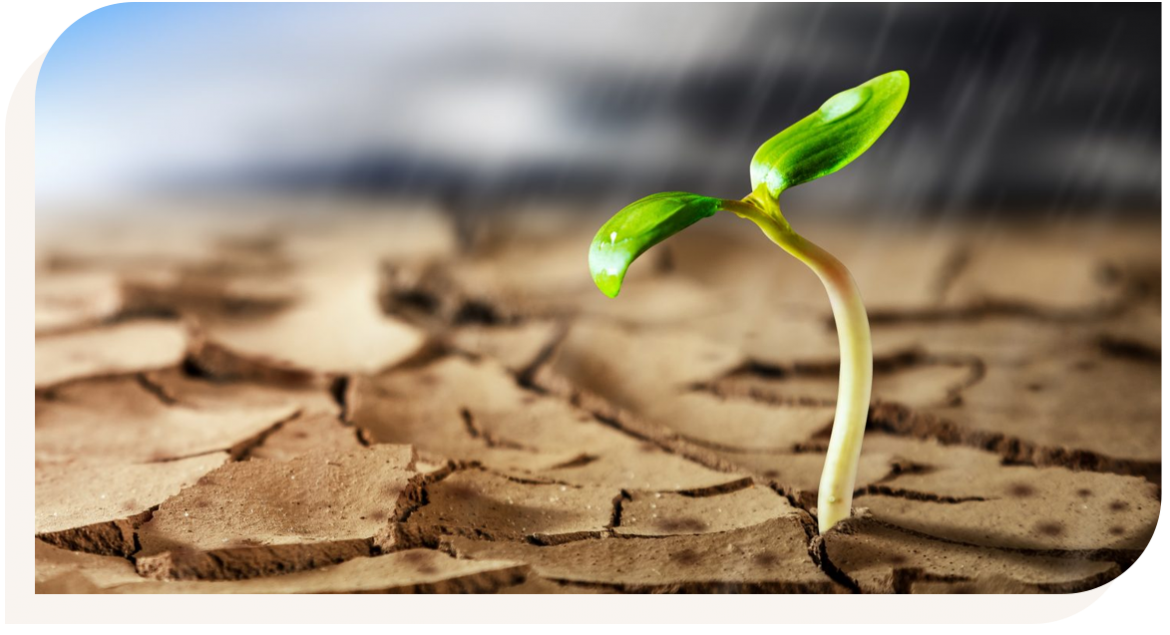
Germination of seeds
All it takes is the right amount of water and light, to germinate. It’s that easy! If you have the inclination to do something extra for your garden, and want to see a seed grow into a plant, let us help you start off.

While we break it down to a few simple steps, it is important for you to know each plant has a unique germination process. If you are a beginner, choose to start off with tomatoes, marigold, basil, or cosmos. Gradually you can move to more demanding seeds like petunias.
Let’s get started then.
- Harvest seeds from flowers and vegetables
You can either collect seeds from your own garden or buy seeds from our wide range. If you are collecting seeds from the flowers or vegetables, shake them in a paper bag or envelope. Ensure it is not a plastic bag, to prevent moisture and mould. Store the seeds in a cool, dry place till they are dry enough to be sown. - Get a tray or pot with drainage holes
A seed tray, cookie/food tin or a flower pot can be used to sow the seeds. If there are no holes in the bottom, make some holes, a few inches apart, with a drill or nail. This is to ensure water drains from the pot/container and does not make the soil overtly moist. It’s better to sow a couple of seeds in multiple pots, in case one doesn’t germinate. - Use seed compost or seed-starting potting mix in the container/tray
Before sowing the seeds, fill the container with a multipurpose seed/potting compost, to maximize the chances of germination. Do not use the soil from your garden. It will be lumpy, may contain pests and diseases and can dry out quickly. - Wet the surface of the compost
If you have a mist spray, use it to moisten the compost. It will be better to use a watering source which has small holes, so that you don’t flood the compost. Always use a sprinkler to wet the compost or to water the delicate seedlings, during germination process. Over watering will wash away the seeds or flatten the seedlings and can cause rotting. - Spread the seeds evenly on the compost
Now that your soil/compost is ready, use your finger to sprinkle small seeds. You don’t need to cover the small seeds with soil, to give it breathing space. Larger seeds can be sown individually and covered with a sprinkle of compost. These seeds can even be sown deeper, about 6mm into the compost. - Cover your tray/container and keep in a warm place
You can cover the seed tray/container with a piece of glass, paper or wooden slab, to prevent the soil from drying out. Keeping the seeds away from light, aids in the germination process.Some seeds germinate quite quickly and others might take weeks. You need to keep a check on the signs, to catch the sprouting on time. - Uncover the tray once the seeds germinate
Once the seeds have started germinating, it is critical to give them light. This helps to grow healthy seedlings.You need to keep the soil moist throughout, as these seedlings can dry out when exposed to sunshine or warm air in a room. However be careful not to overwater. Keep a check daily and water the soil only if required. Once you see the leaves on the seedlings, they are ready to be transplanted. - Repot the seedlings to individual pots
You have seen the leaves and now you can be sure they are grown enough to be transplanted to individual trays or pots. Water the soil to gently take the seedlings out, without damaging their delicate roots.Hope we have given you a good and simple walk-through to create your own seedlings! Start today and send us pictures of your lovely seedlings.
